We’re using The Well Trained Mind as the backbone of our curriculum choices, and it suggests introducing a “life science” study of animals, plants, and the human body for the first year. So that’s what we’re doing, but so far I’m staying pretty laid back with this subject–following the kids’ interests, reading lots of themed fiction and nonfiction books, and incorporating art projects.
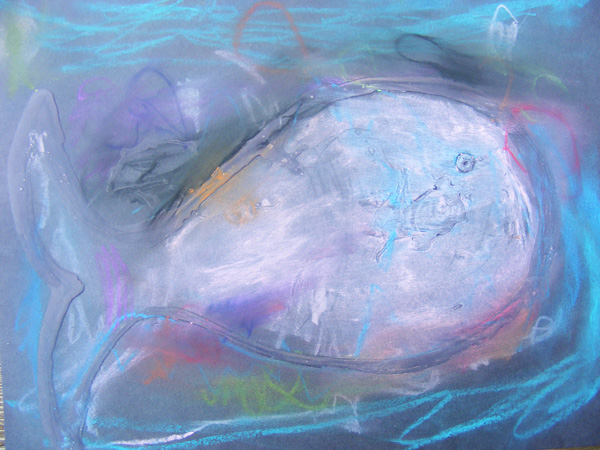
We started with a few reptiles (turtles, snakes, and alligators/crocodiles), and are now moving to the ocean, where we began reading about whales. When I was creating a Pinterest inspiration board, I loved this glue and chalk art project and decided to adapt it to my kids’ level and the subject we’re studying.
Goodness, this was a fun project for them. They LOVE using glue–and lots of it, so it was awesome to have permission to squeeze away.

Supplies Needed:
- Black cardstock
- White school glue
- Pencil
- Oil Pastels (crayons would work in a pinch)

Then we traced the pencil lines with the tip of the glue bottle.

Next we set the glue drawings aside to dry (it took overnight) while we read all about whales.

The dried glue created a clear outline of our whale drawings.

Time to color! We used oil pastels, coloring all the way to the glue outline. The dried glue creates texture, and resists the color. You could also use crayons, or if you glue-draw on white paper, watercolor paint would be fun too.


I like pulling out the “special crayons” when we do nicer projects. Using mommy’s “fancy” supplies seems to motivate them to take their time and do a better job. I also like the oil pastels versus crayons (for these kinds of projects) because the color smudges. Yes, it can be a bit messy, but it turns those kinder scribbles into a smoother, filled-in piece.

They were proud of their finished pieces.


But pul-eeeze mom, don’t make us pose for a picture!

Linked to: I Can Teach My Child
[…] we were talking about whales during science, we included the retelling of the Bible story of Jonah and the Whale in our lesson […]